
In this section
Fix tables
Redraw a table PDFxt tagged wrongly, correct its rows, columns, spans and header rows in the table editor, and join a table that runs across two pages.
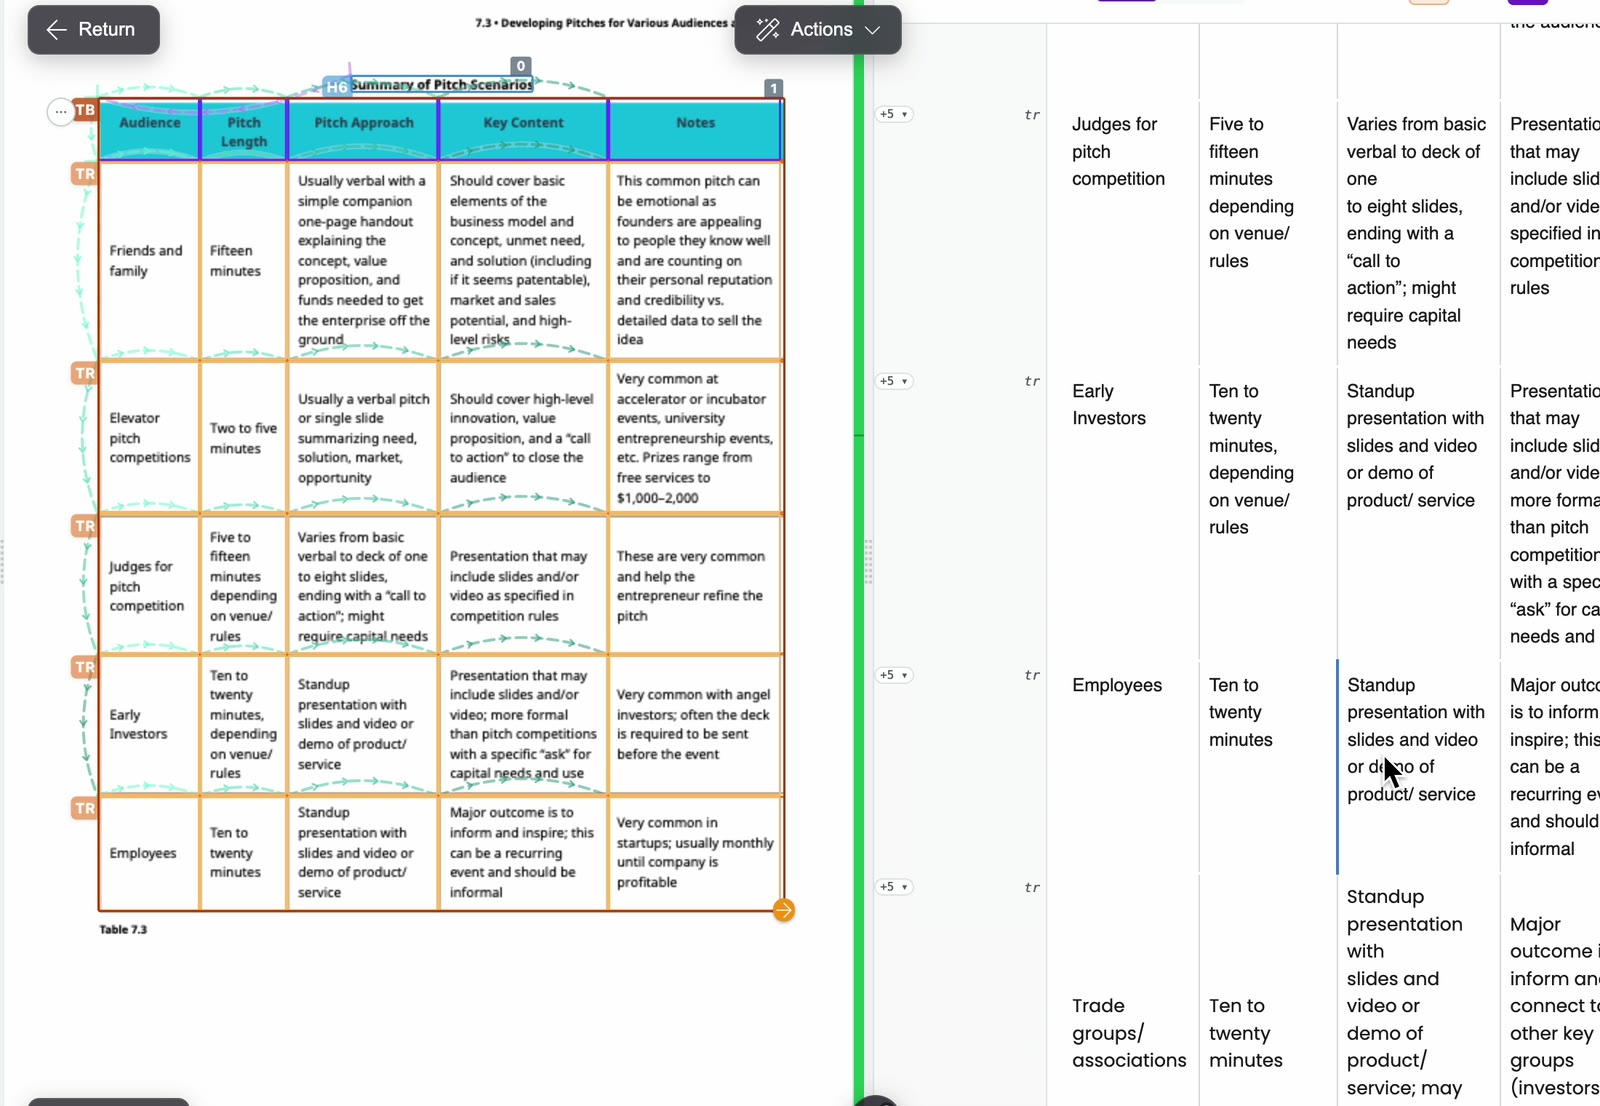
PDFxt detects tables during the analysis and tags them with their rows, cells and header rows, so most tables need no work. When a table is tagged wrongly, you can redraw it, correct its grid in the table editor, or fix the style of a single cell. A table that runs over two pages can be joined into one, so readers of the ePUB meet a single table with one header row.
Redraw a table
If the table zones on a page are wrong, clear them and draw the table again.
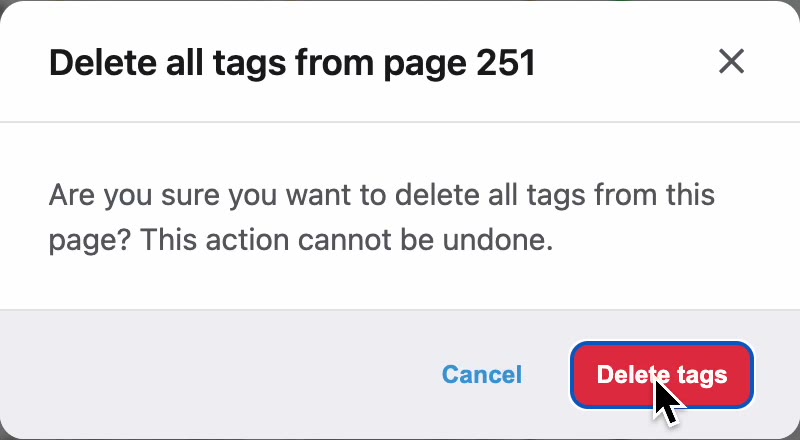
- Go to the page with the table and press Shift + Delete. Confirm with Delete tags. This removes every zone on the page. The PDF text stays as it is.
- If the table continues on the next page, go to that page, select its table zone and press Delete.
- Open the Actions menu and choose Heading, or press H. Drag a box around the table title.
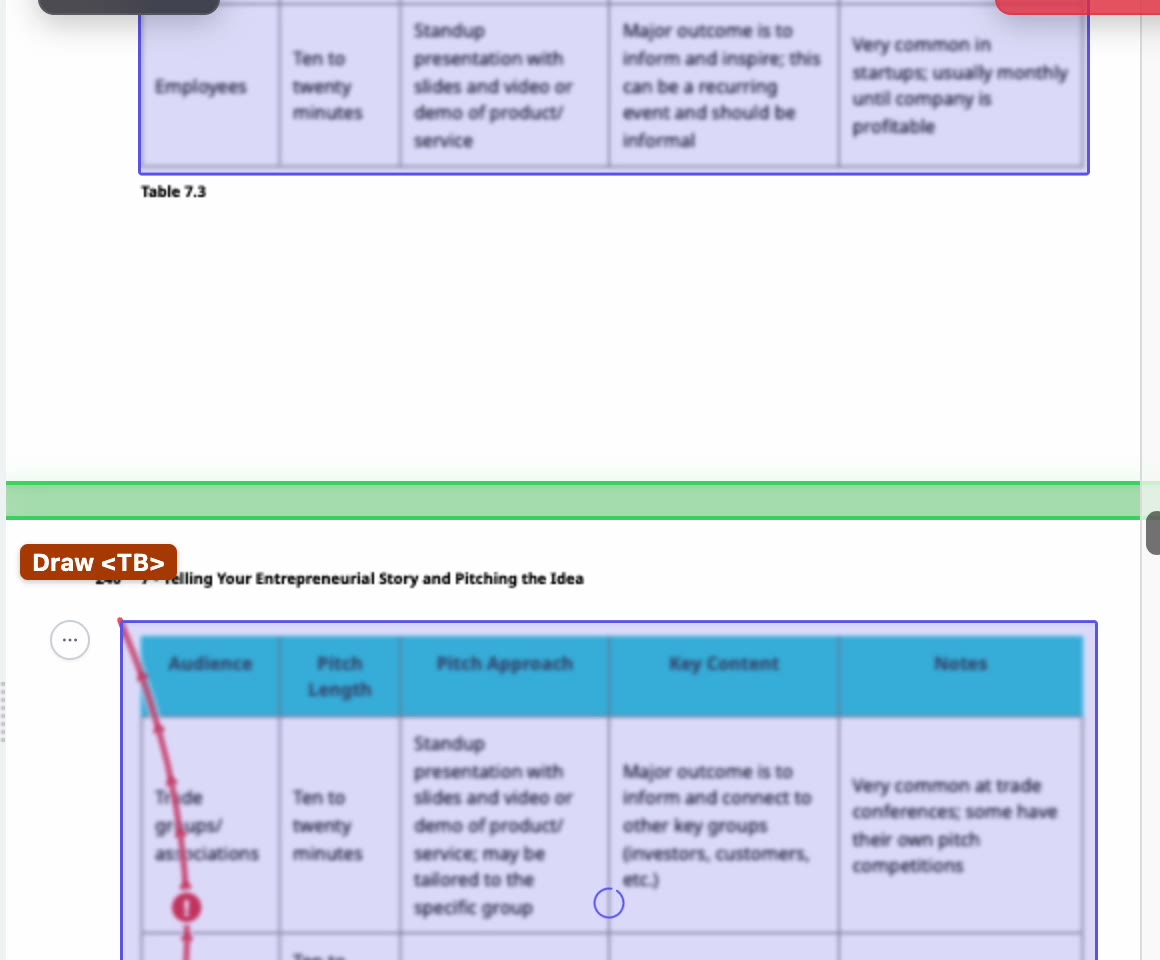
- Open the Actions menu and choose Table, or press T. Drag a box exactly around the table.
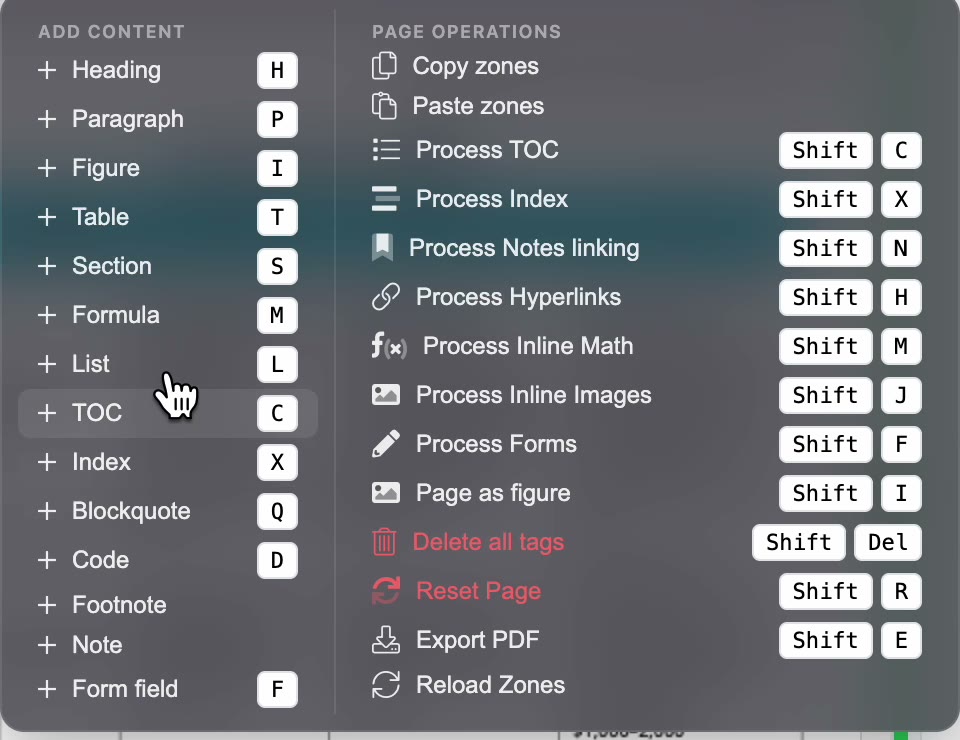
- Draw the rest of the table on the next page the same way.
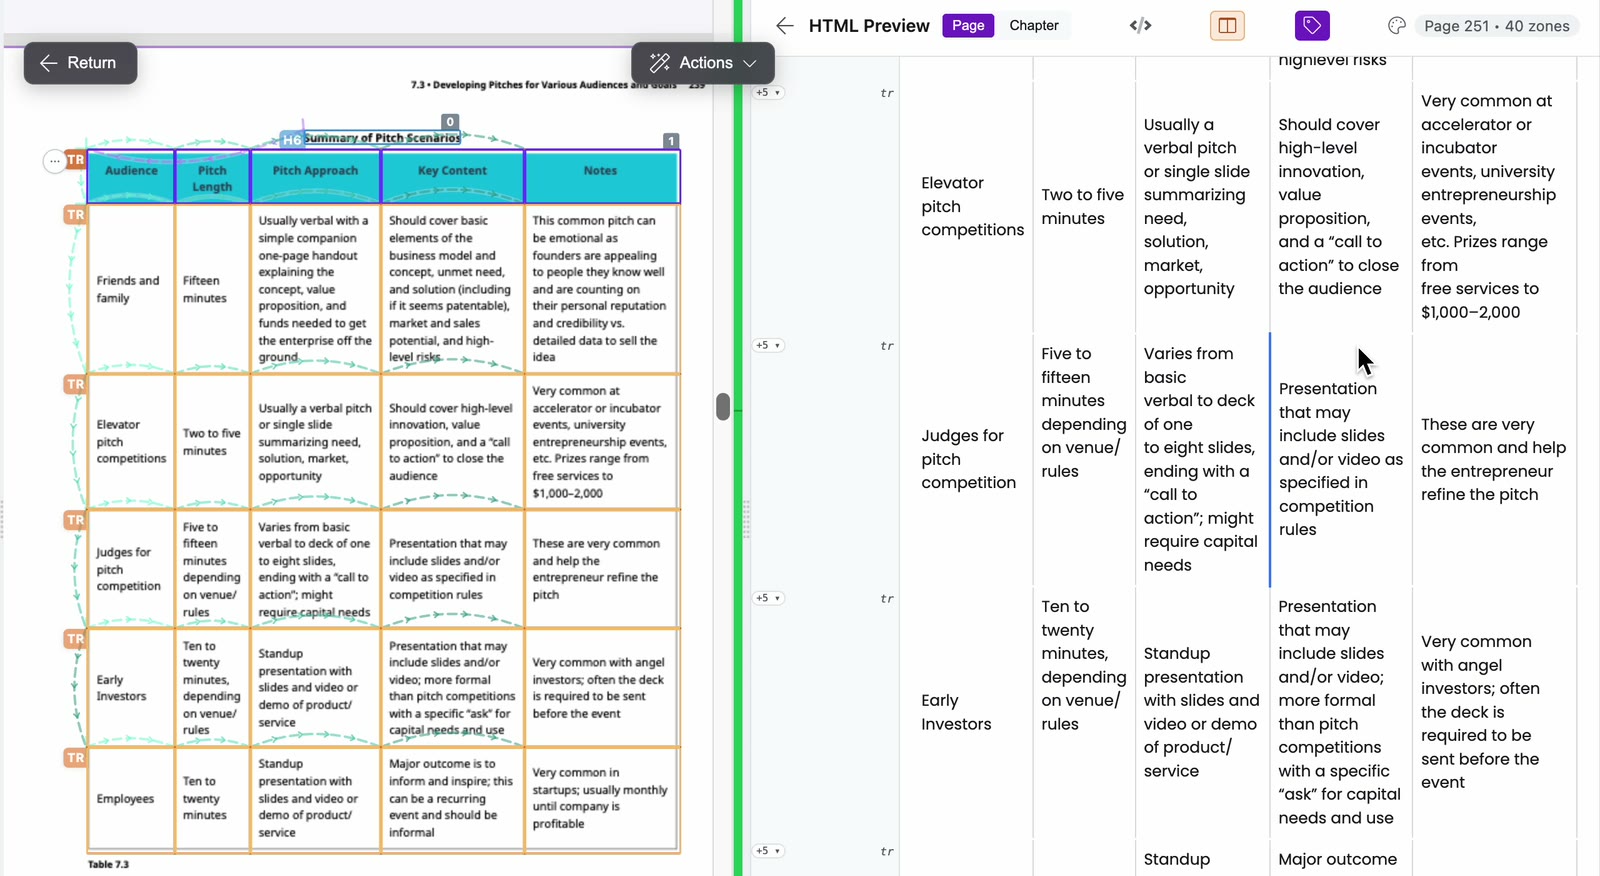
PDFxt detects the rows and columns of each table you draw. Check the result in the HTML Preview on the right.
Correct rows, columns and spans in the table editor
If the table is still wrong, for example a cell that should span two rows or columns doesn't, correct it in the table editor.
- Select the table zone and click Edit table in the zone toolbar above the page. If the toolbar is short of space, Edit table is in the menu at its right-hand end.
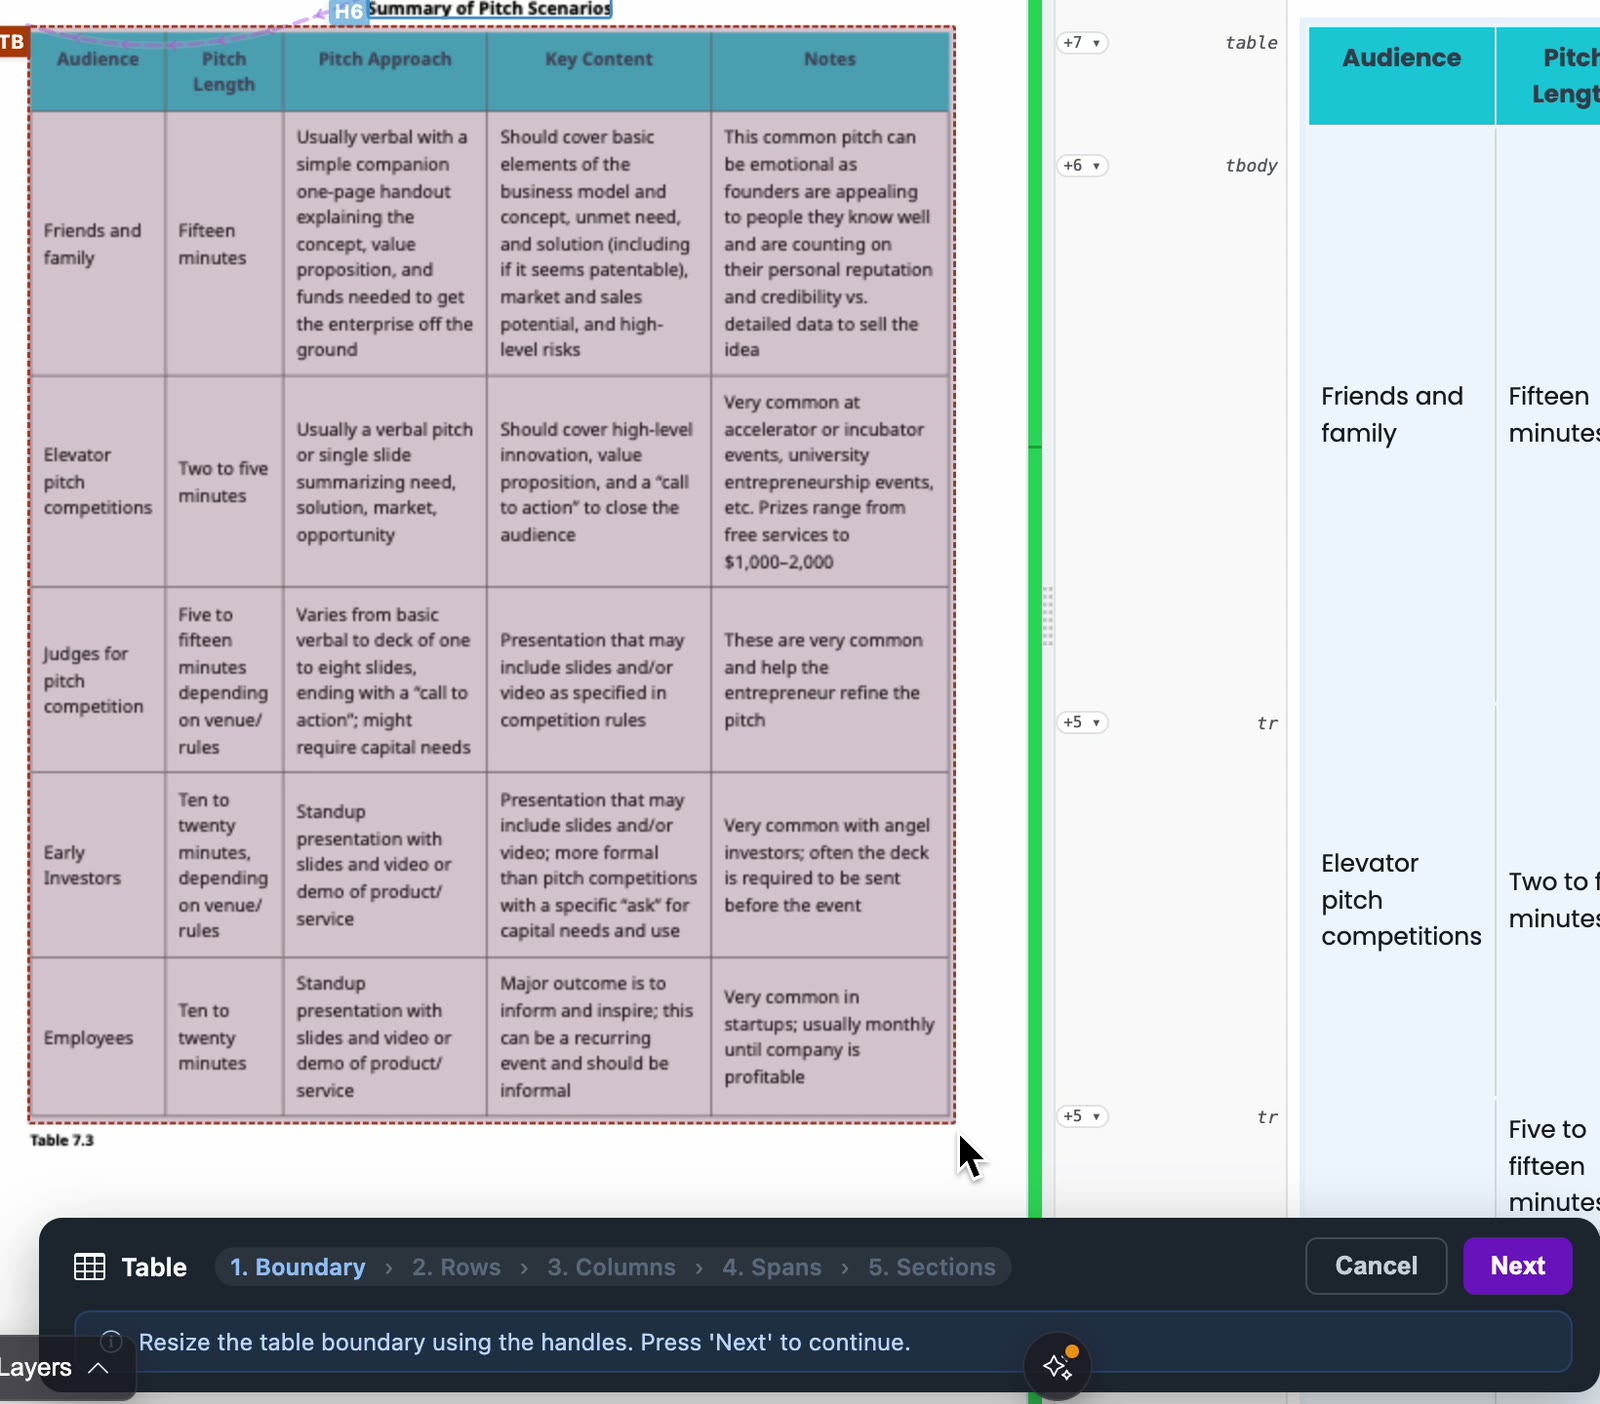
- Boundary: check that the outline matches the table. Resize it with the handles if it doesn't, then click Next.
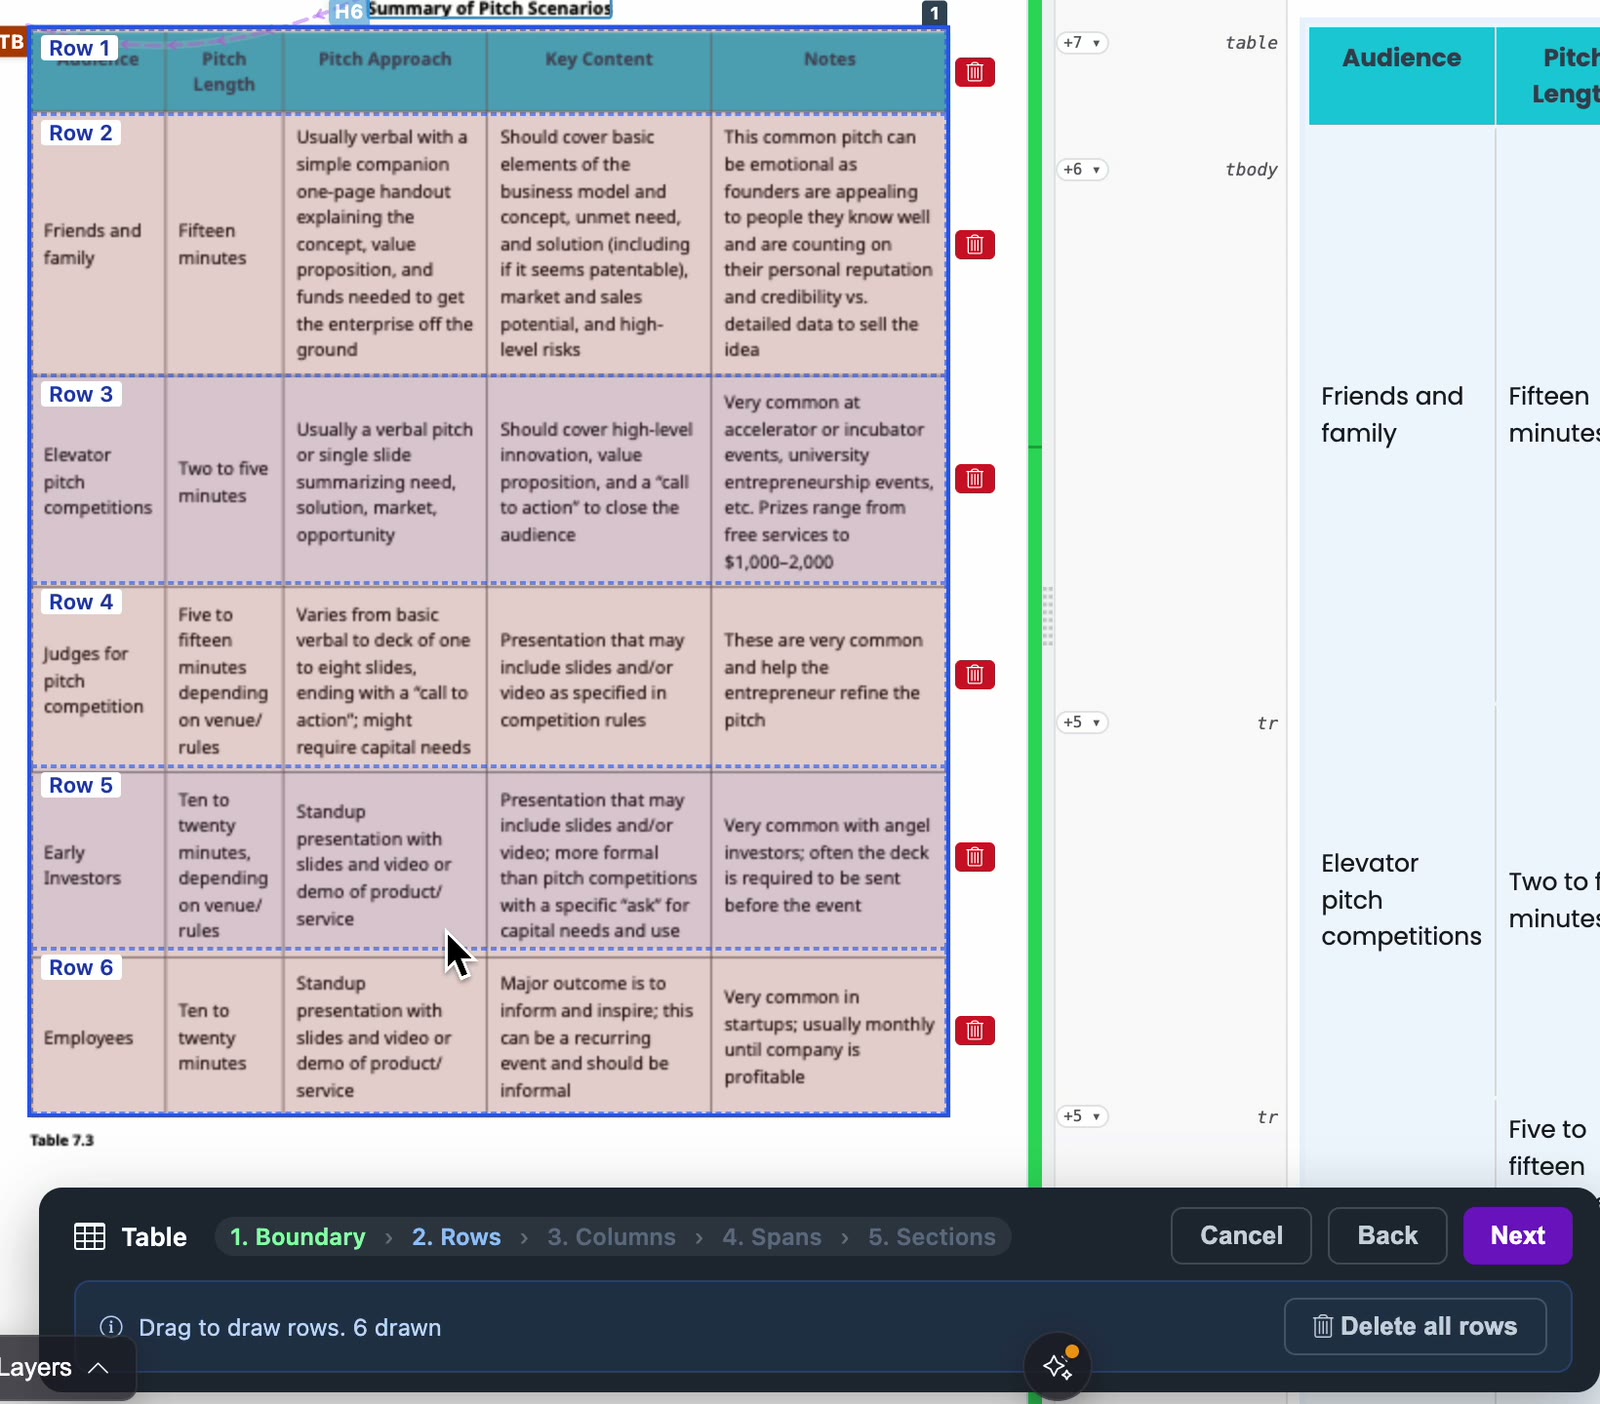
- Rows: each row is marked Row 1, Row 2 and so on. Remove a wrong row with its bin icon, and drag across the table to draw a row. Delete all rows clears them so you can start again. Click Next.
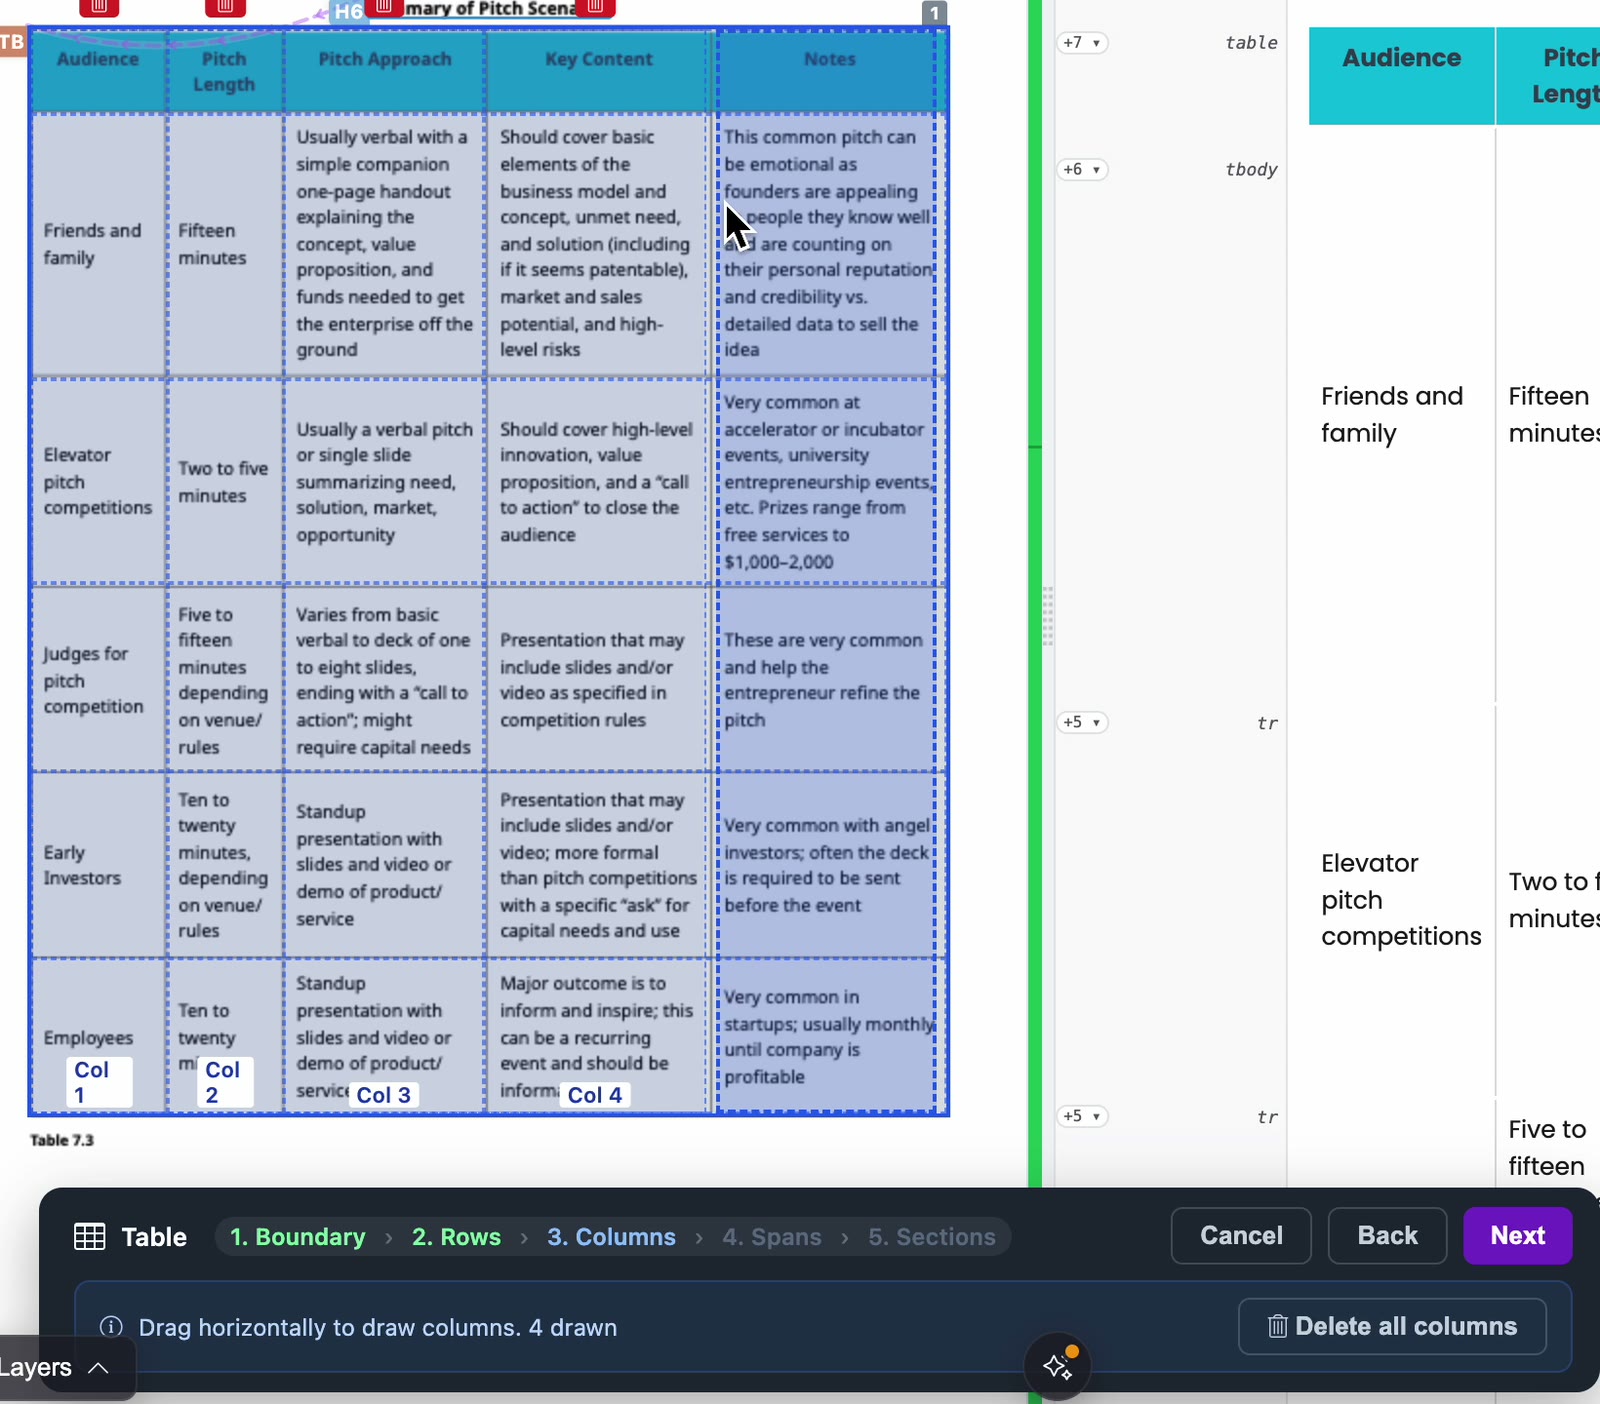
- Columns: remove and draw columns the same way, dragging horizontally. Delete all columns clears them. Click Next.
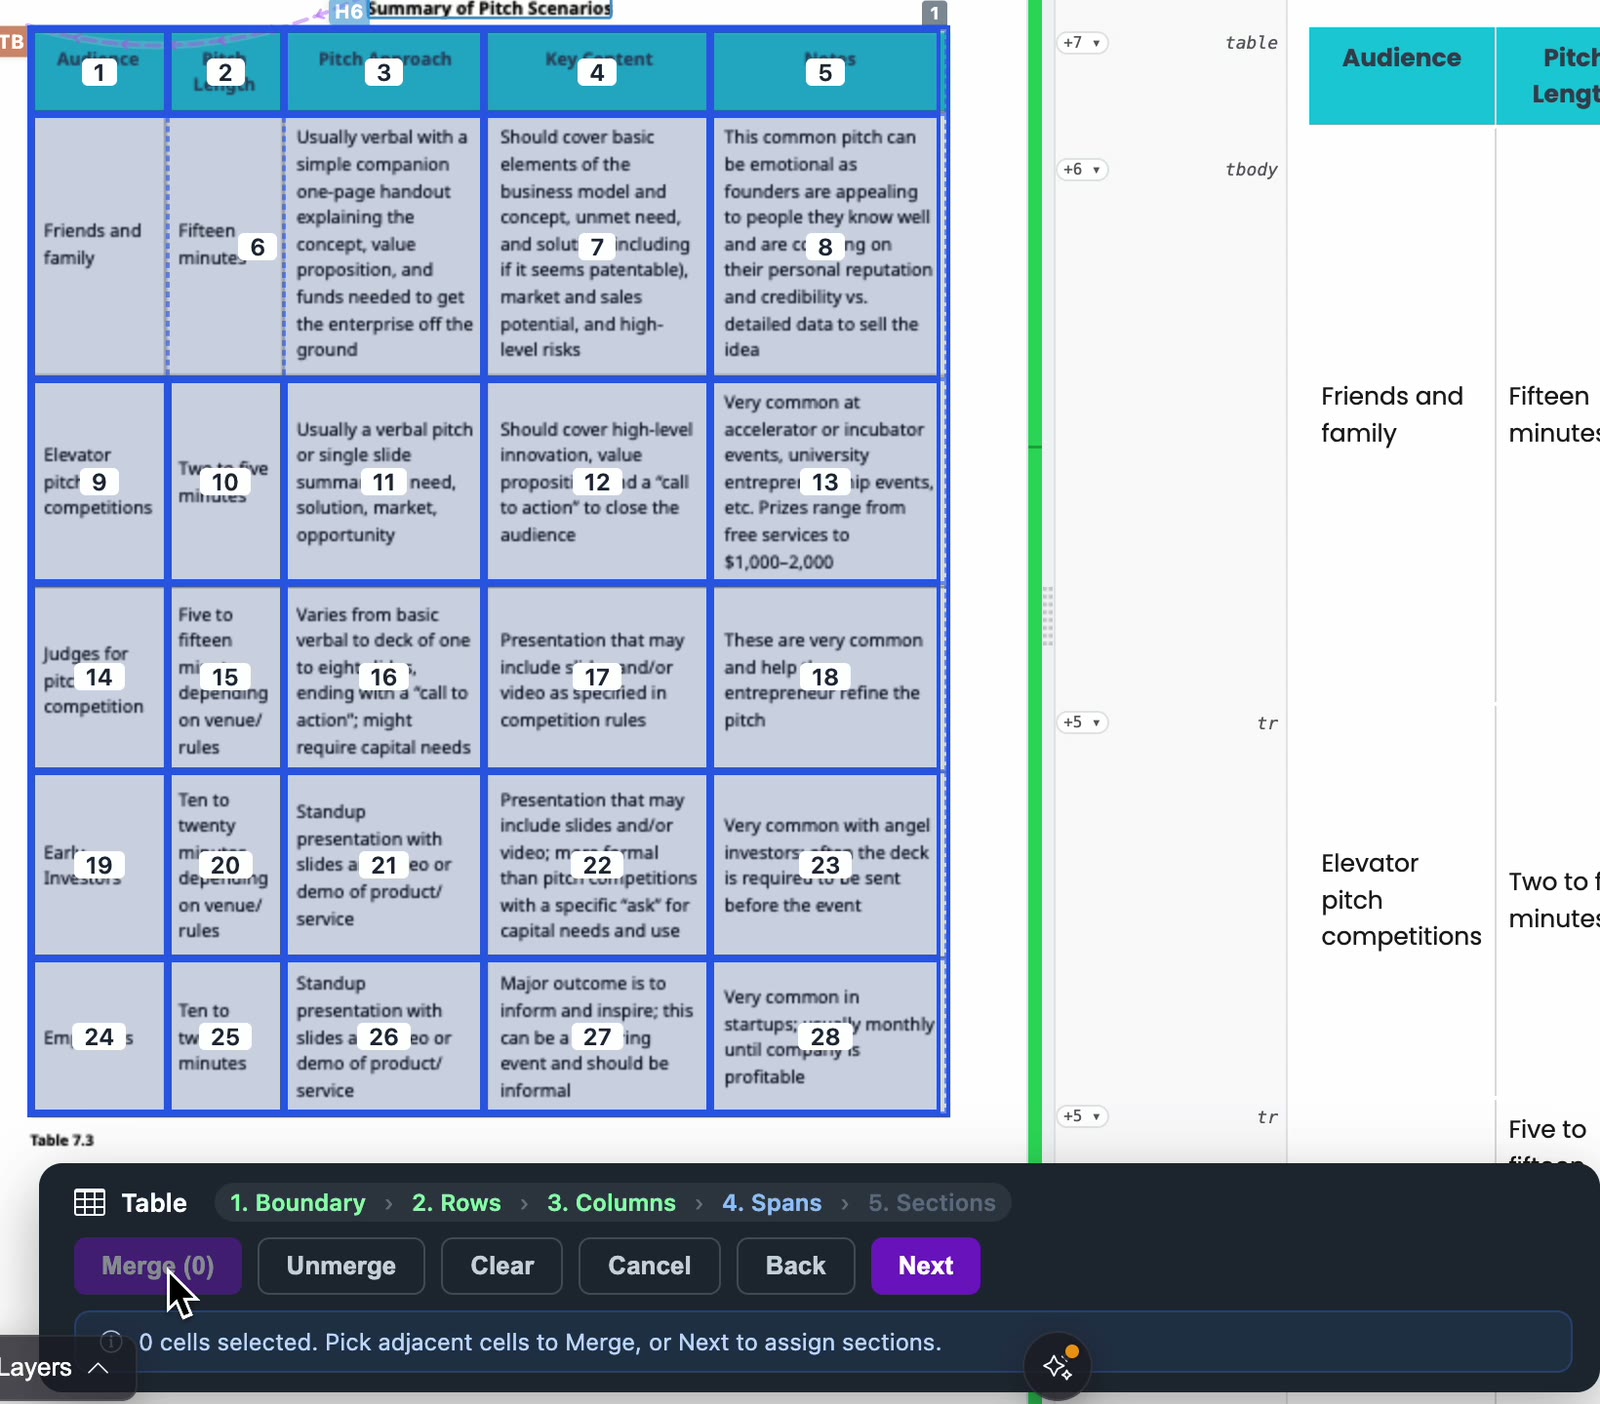
- Spans: every cell is numbered. Select adjacent cells and click Merge to make one cell span them, or select a merged cell and click Unmerge. Click Next.
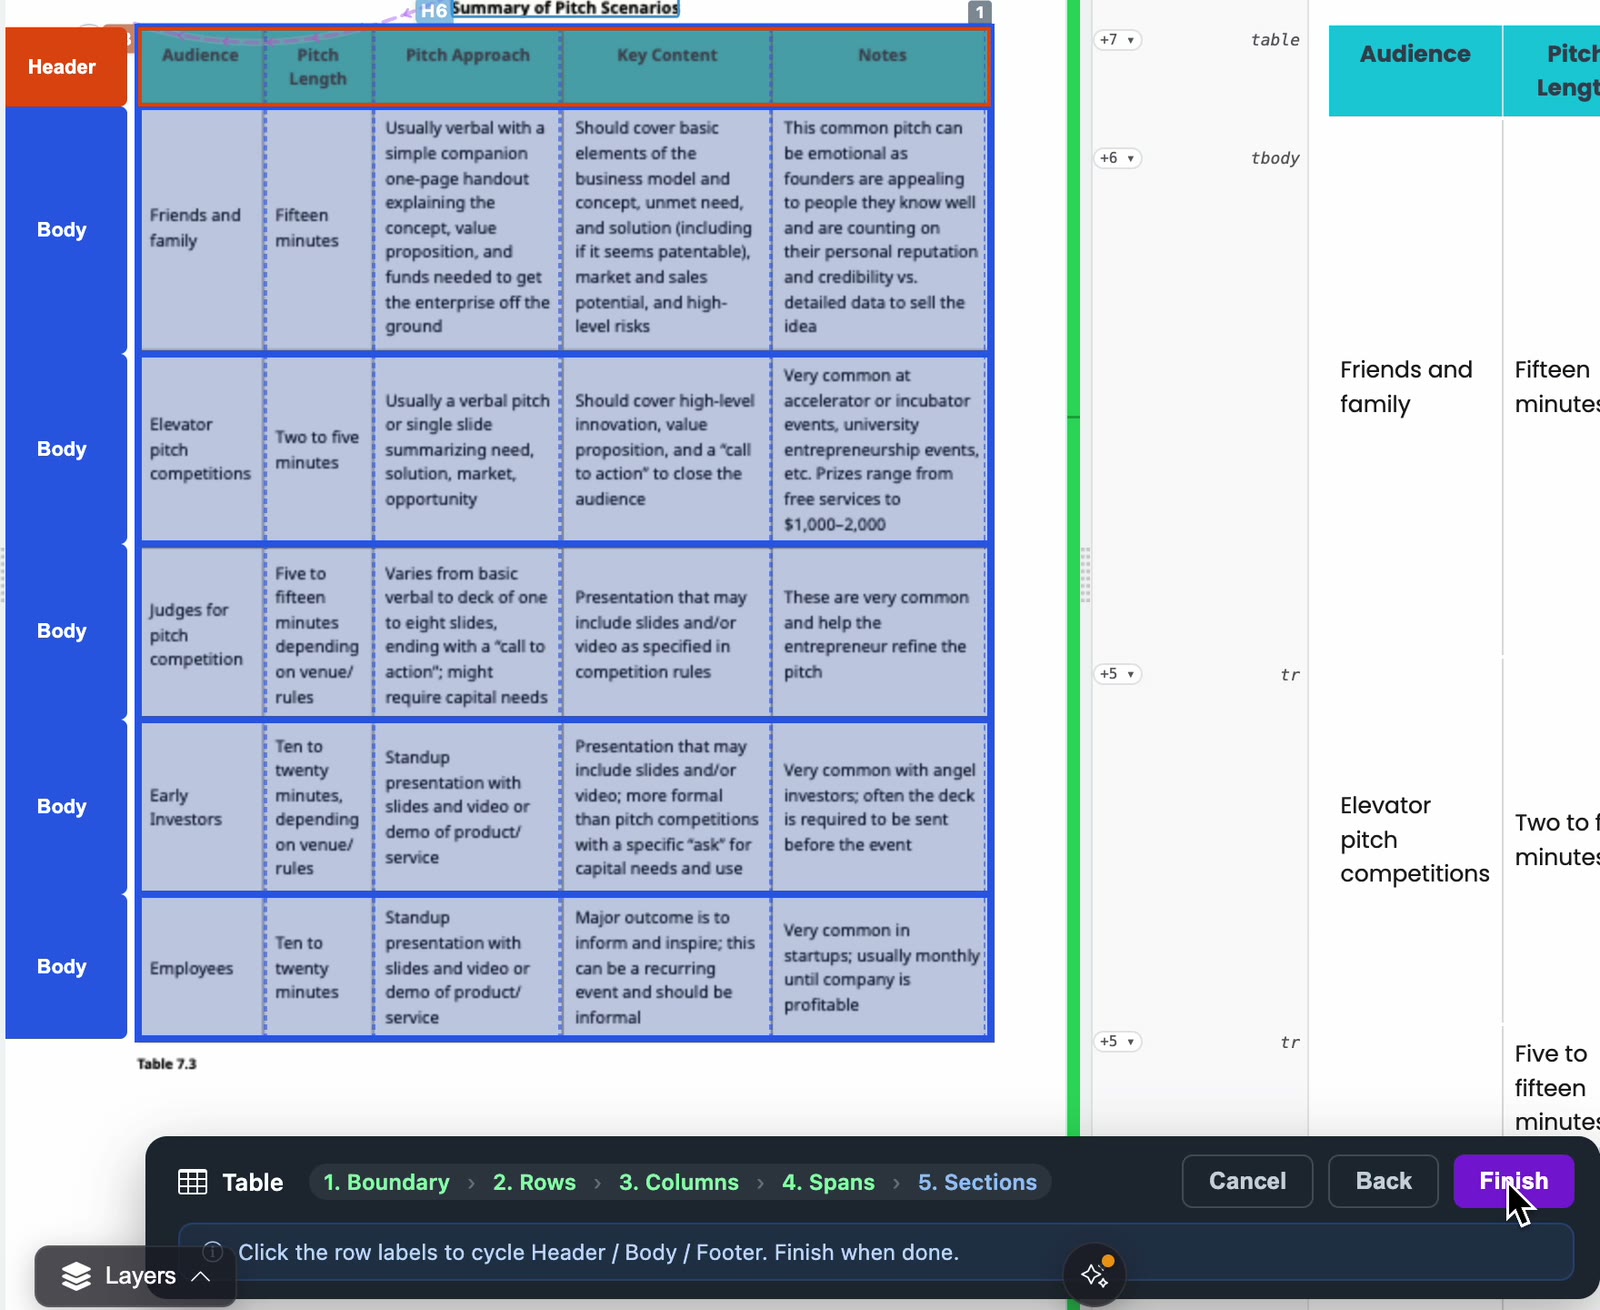
- Sections: click the label beside each row to cycle it between Header, Body and Footer. These become the table's thead, tbody and tfoot.
- Click Finish to save the table.
Fix the style of one cell
If one cell looks different from the rest in the HTML Preview, such as a stray background colour, edit that cell's style.
- In the HTML Preview, click the small chip to the left of the row. It lists the zones that start there, such as
<tr>and each<td>. Click the cell you need. - The Styles box opens. Under Properties, remove the property that's wrong, here a background colour.
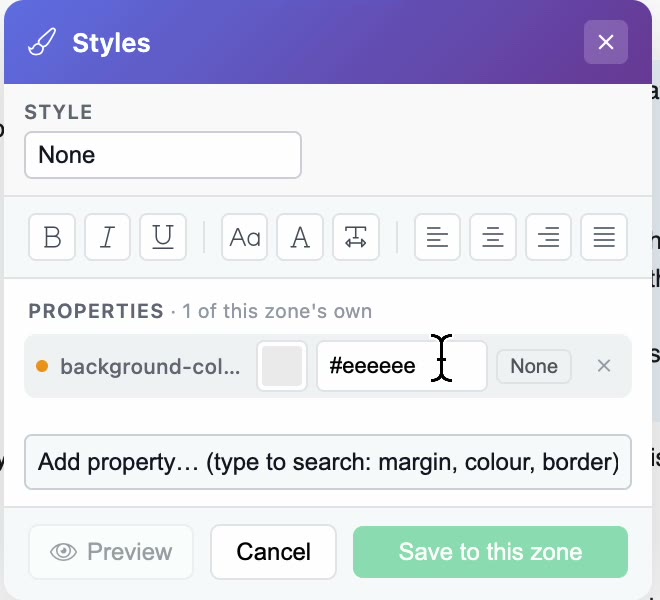
- Click Save to this zone.
For more on the Styles box, see Edit styles and HTML for a zone.
Join a table split across two pages
When a table continues on the next page, link the two parts so the ePUB has one table.
- Select the table zone on the first page and click Stitch text in the zone toolbar.
- Under Continues to (later), choose the table on the next page. It's listed under Next page.
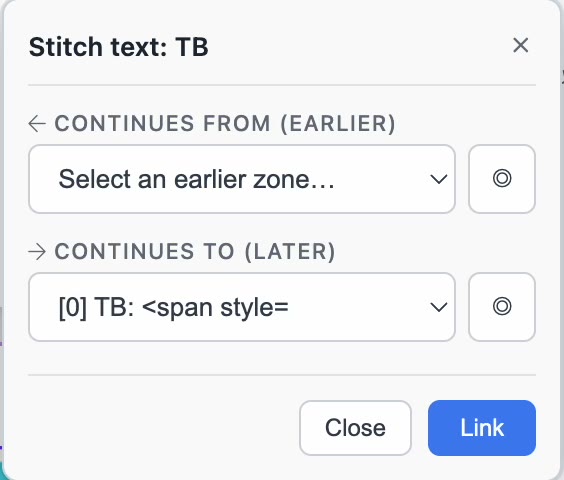
- Click Link. PDFxt confirms with Zones linked.
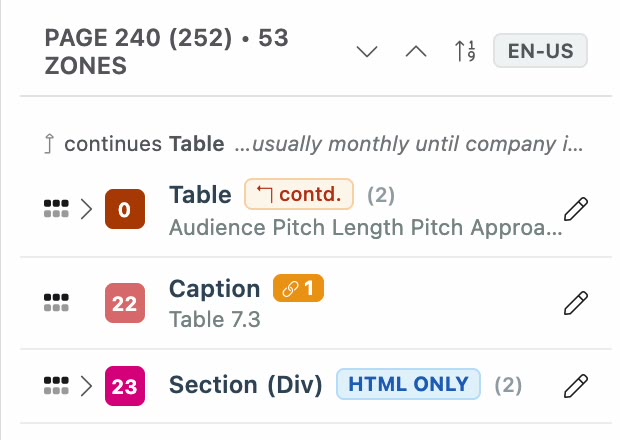
You can also start from the small button beside the first or last zone on a page. Its tooltip reads Merge with previous page (Continuation) or Merge with next page (Continuation), and it lets you choose which zone this one continues from or to.
Check it worked
- In the HTML Preview, the redrawn or edited table has the right rows, columns and header row.
- After stitching, the HTML Preview of the first page shows one table that includes the rows from the next page. The second page's header row is removed, so the column headings appear once.
Related articles
Watch the video
Tables, part 10 of the PDFxt video series.